
How to Create Dubstep Wobble Sounds in FL Studio Using Serum
Dubstep is all about aggressive basslines and wobbling rhythms that hit hard in the mix. One of the most popular tools for crafting these sounds is Xfer Serum — a powerful wavetable synthesizer that makes sound design approachable yet incredibly deep.
In this tutorial, we’ll walk through how to create a dubstep wobble bass from scratch in Serum within FL Studio.
Step 1 – Setting Up Serum in FL Studio
Open FL Studio and load a new MIDI channel.
Add Serum to the channel by selecting it from your VST plugin list.
Create a new MIDI pattern and draw in some long bass notes to hear your changes in real time.
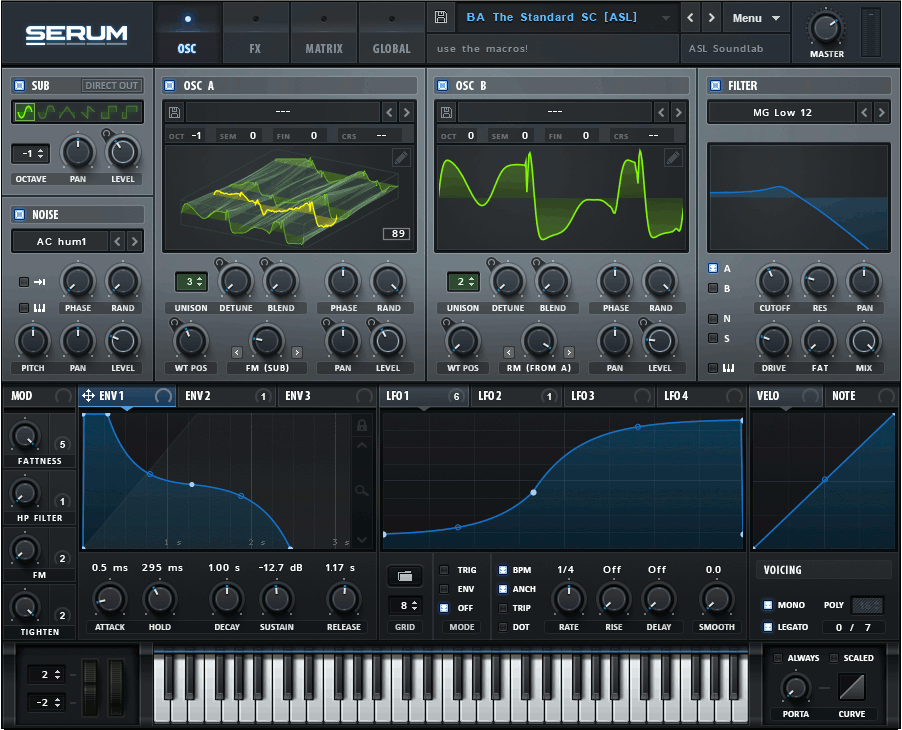
Step 2 – Choose the Right Wavetable
The foundation of your wobble bass is the wavetable.
In Oscillator A, click the wavetable selector.
Choose something aggressive like:
Monster 8
I Can Haz Kick
Basic Shapes (for a clean square/saw start)
Turn Unison to around 3–4 voices and slightly increase the Detune for width.
Step 3 – Add Movement with LFOs
The signature “wobble” comes from modulating the filter cutoff with an LFO.
Click Filter and select MG Low 24 (low-pass filter).
Route Oscillator A through the filter.
Set LFO 1 to a shape that rises and falls (default shape works well).
Drag the LFO 1 handle onto the Filter Cutoff knob.
Adjust the rate of LFO 1 — start with 1/4 or 1/8 sync to tempo for a classic wobble feel.
Step 4 – Shape Your Sound with Effects
Serum’s FX tab is key for making your bass sound huge.
Distortion → Use Diode 1 or Asymmetrical for aggressive grit.
Hyper/Dimension → Add stereo width.
EQ → Boost low-end around 50–100 Hz and add presence around 2–4 kHz.
Compressor (OTT mode) → Squash and fatten the sound.
Step 5 – Add Variation
A wobble that never changes gets boring. Try:
Modulating wavetable position with an LFO for evolving timbre.
Assigning LFO 2 to distortion drive for growling effects.
Automating LFO speed in FL Studio to make drop sections feel more dynamic.
Step 6 – Layer and Arrange in FL Studio
Duplicate your Serum channel and tweak settings for different tones.
Layer a sub bass underneath (simple sine wave) to keep the low-end clean.
Use automation clips in FL Studio to control filter cutoff, LFO rate, or effect wet/dry for transitions.
Step 7 – Final Touches
Check your mix with an EQ to make sure the bass isn’t muddy.
Use sidechain compression with your kick drum for punch.
Render your bass to audio clips for extra editing freedom.
Quick Recap
Wavetable: Choose aggressive tones.
LFO: Modulate filter cutoff for wobble.
FX: Distort, compress, and widen.
Variation: Keep it evolving.
Layering: Combine mid-bass with a clean sub.
Final Tip: Once you’ve got the basics down, experiment with different LFO shapes, wavetables, and FX chains — the beauty of Serum is how far you can push it to create truly unique dubstep basses.